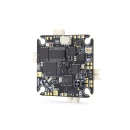
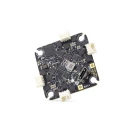
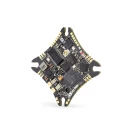
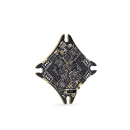
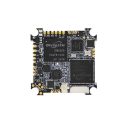
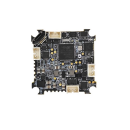
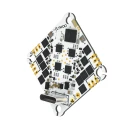
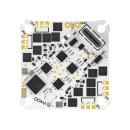
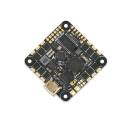
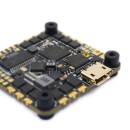
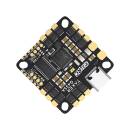
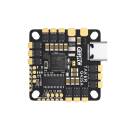
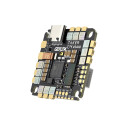
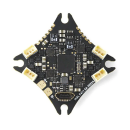
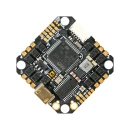
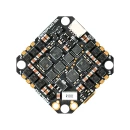
Flywoo GOKU F405 HD 1-2S 12A AIO V2 ICM42688 (No ELRS RX)
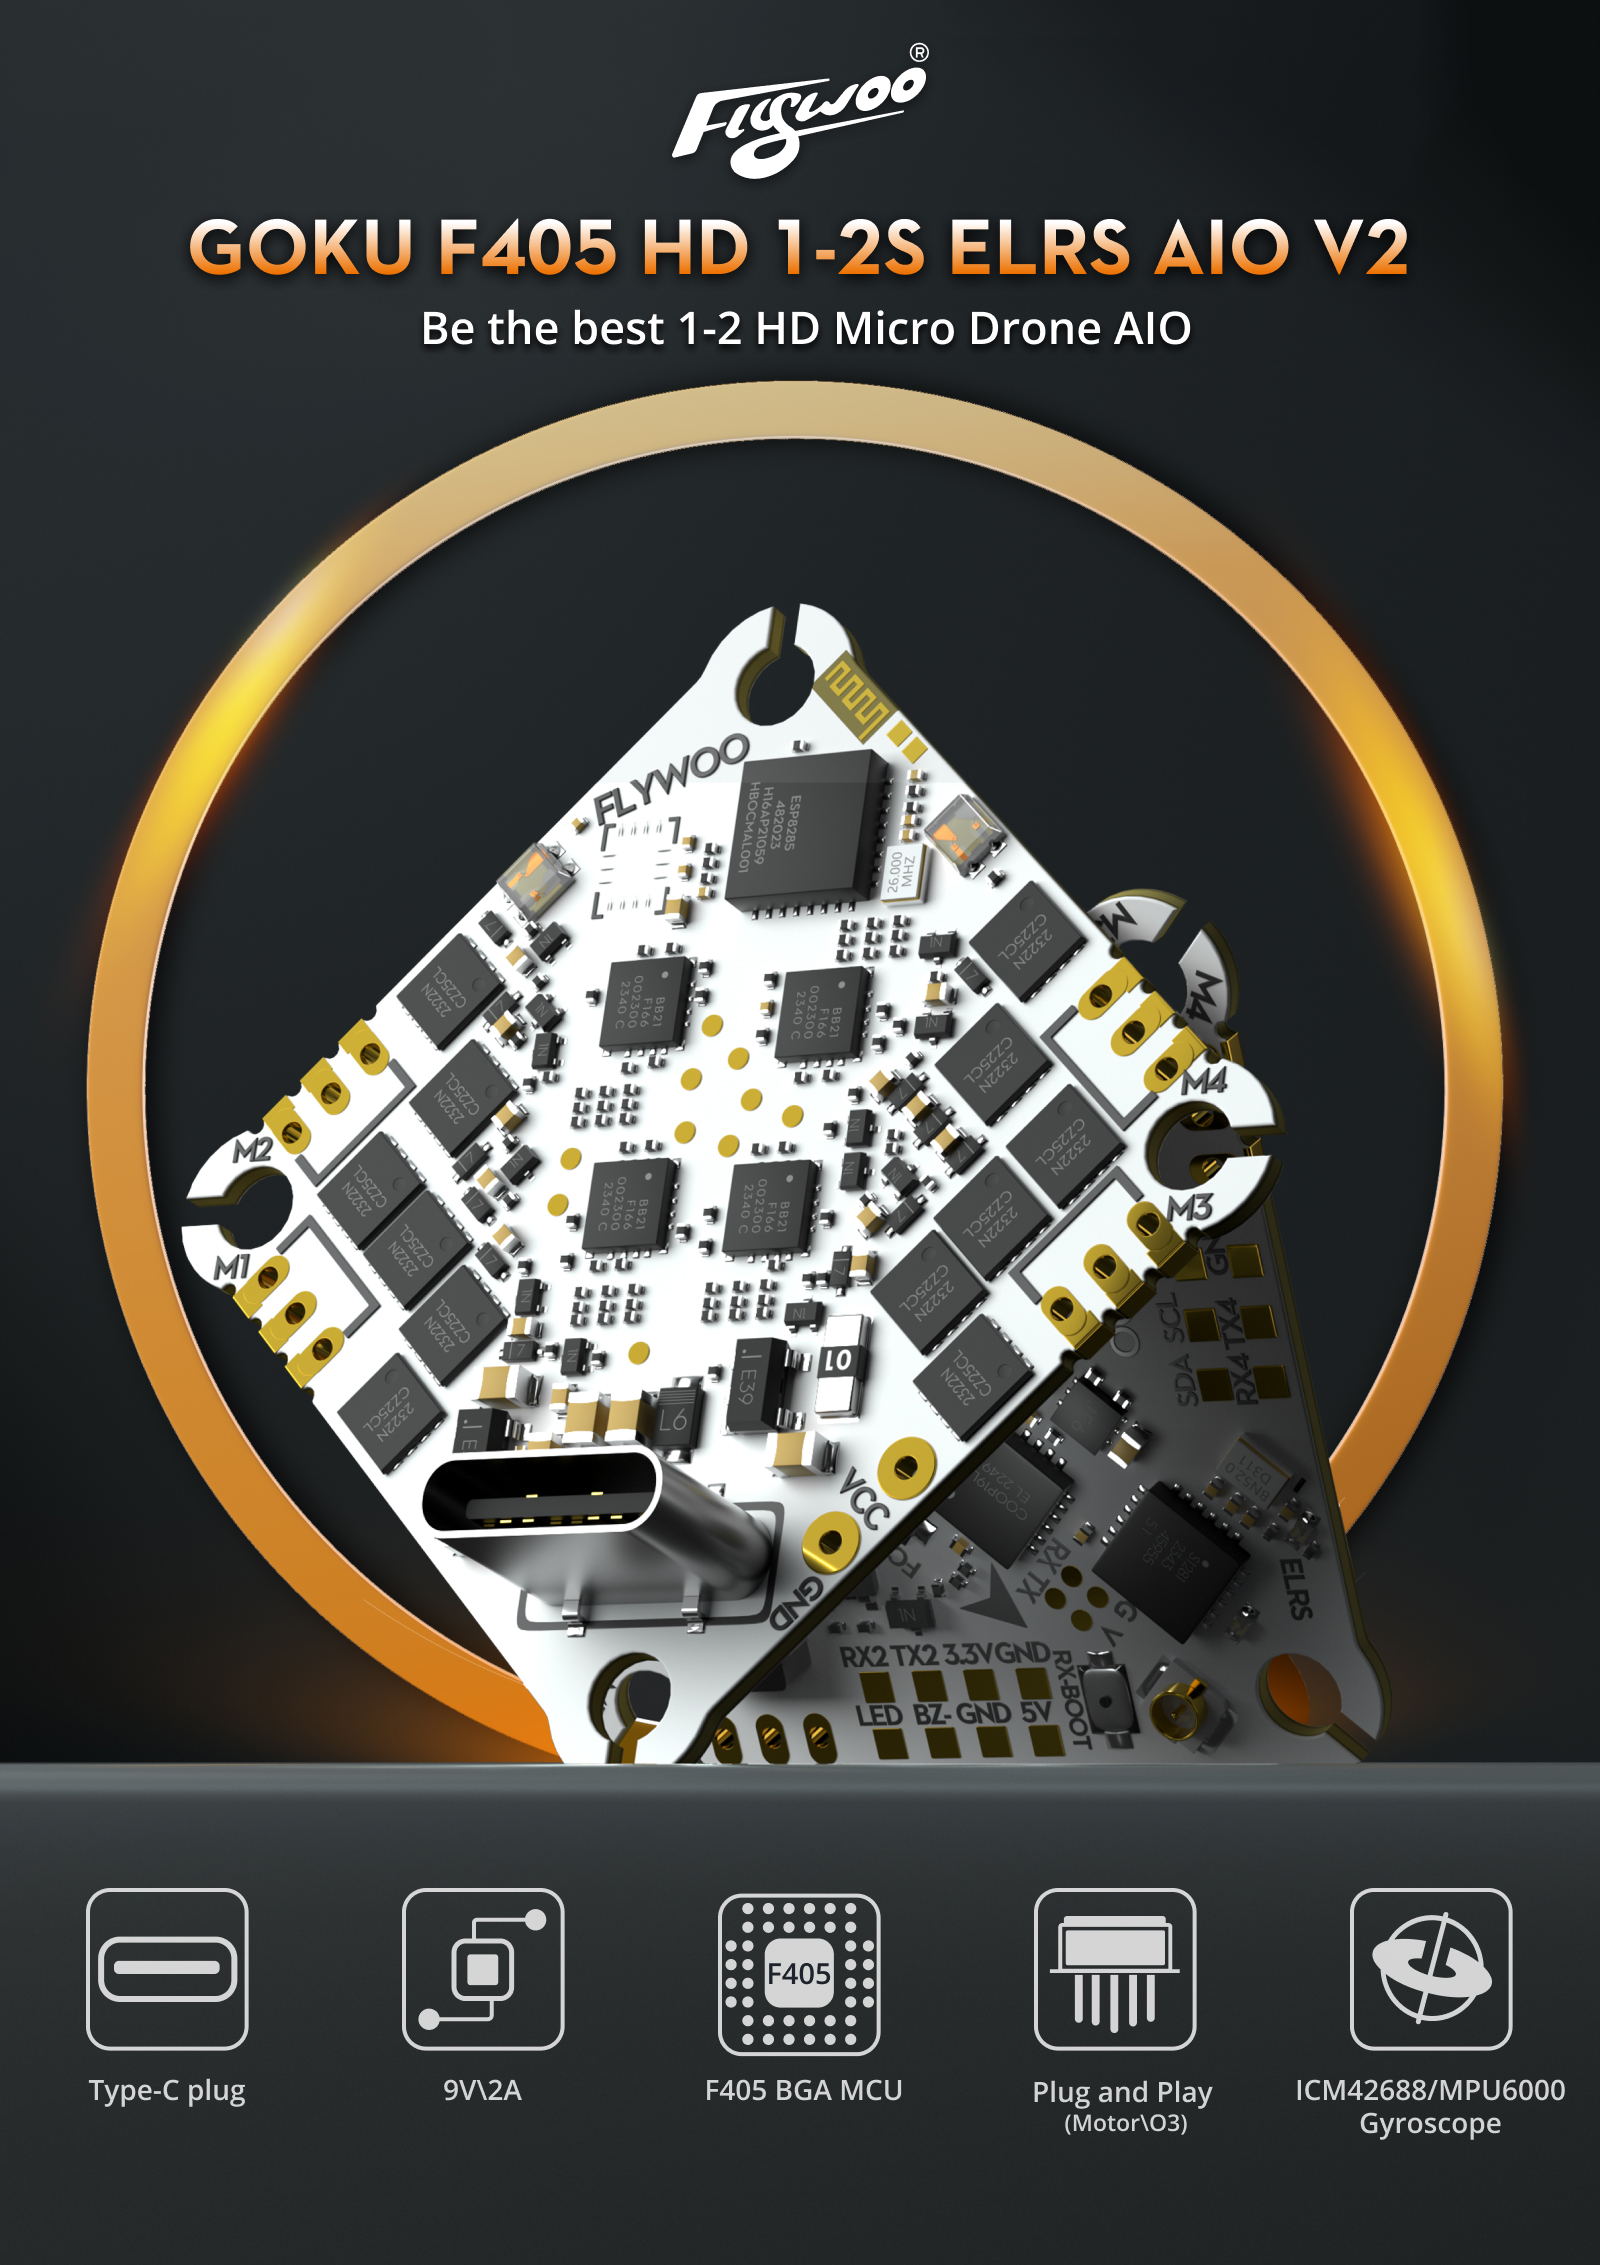
Flywoo GOKU F405 HD 1-2S 12A ELRS AIO V2
With the growing popularity of digital transmission, FLYWOO introduces an innovative solution for 1-2S HD Micro Drones.
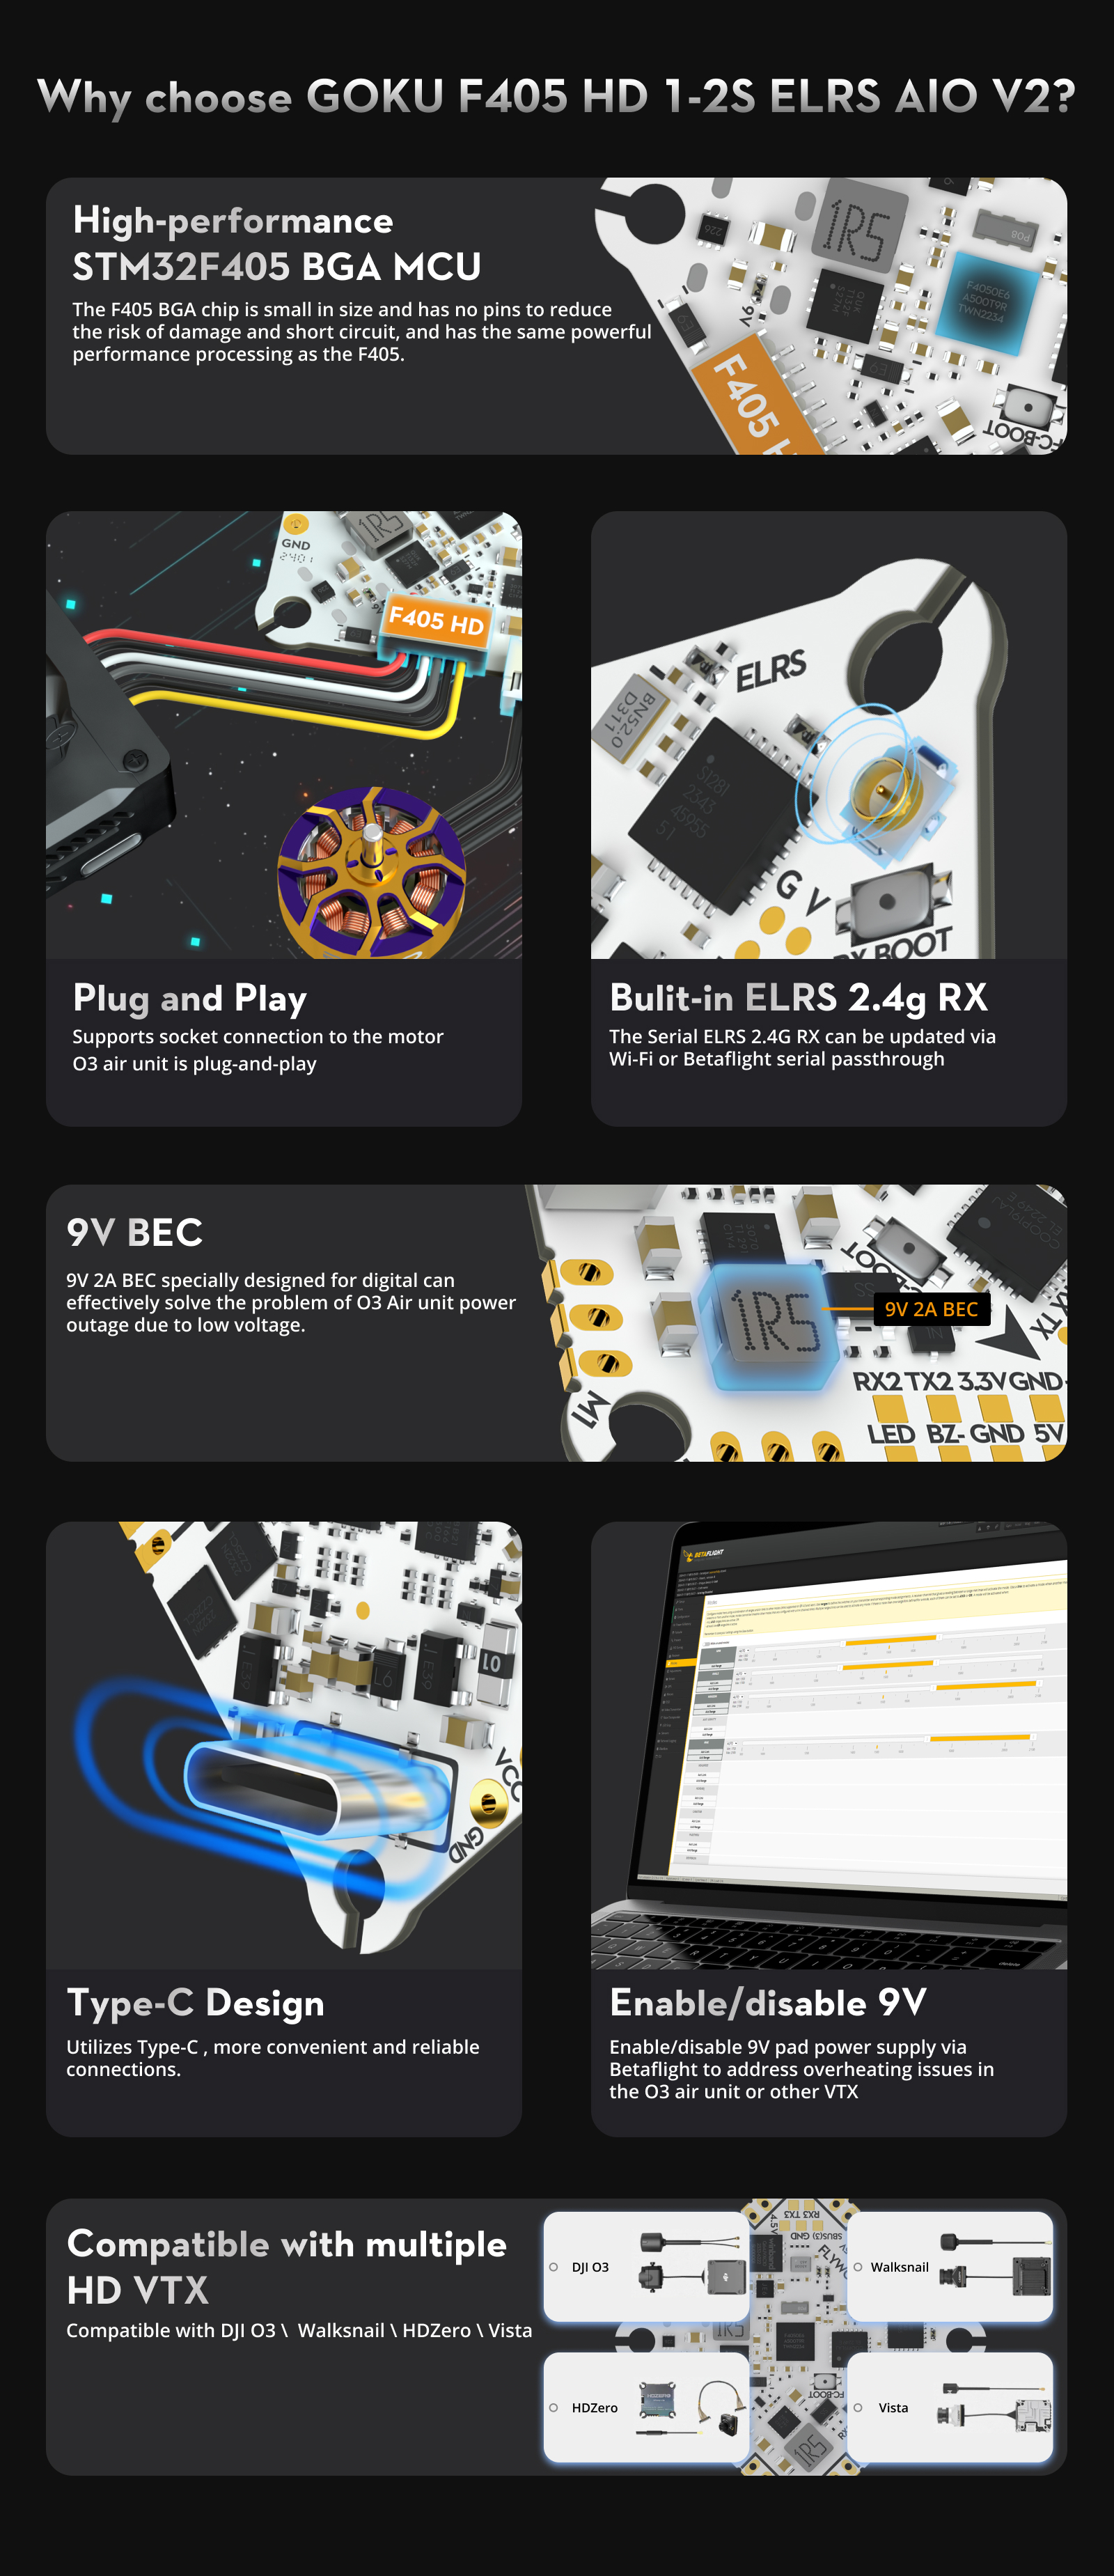
This full-featured HD AIO solution integrates a Type-C interface, equipped with a high-performance F405 BGA MCU, and offers enough UART to meet all your needs. The GOKU F405 HD V2 AIO features a built-in 9V 2A BEC module, effectively preventing power cuts in the O3 Air unit due to insufficient voltage.
Additionally, it comes with a serial ELRS 2.4G receiver, an 8MB black box, a barometer, and a current sensor, specifically designed for HD VTX. Its socket-style motor connections and plug-and-play O3 design significantly simplify the installation and debugging process, achieving a perfect blend of efficiency and convenience.
Highlights
- Type-C Design: Utilizes Type-C, more convenient and reliable connections.
- New Power Supply: Features 9V 2A BEC, effectively preventing power outages in the O3 Air unit due to voltage dropping.
- Plug-and-Play O3 Port: Direct plug design for O3 air unit eliminates complex soldering steps.
- Motor Socket Design: Adopts socket connections for motors to facilitate quick replacements and upgrades.
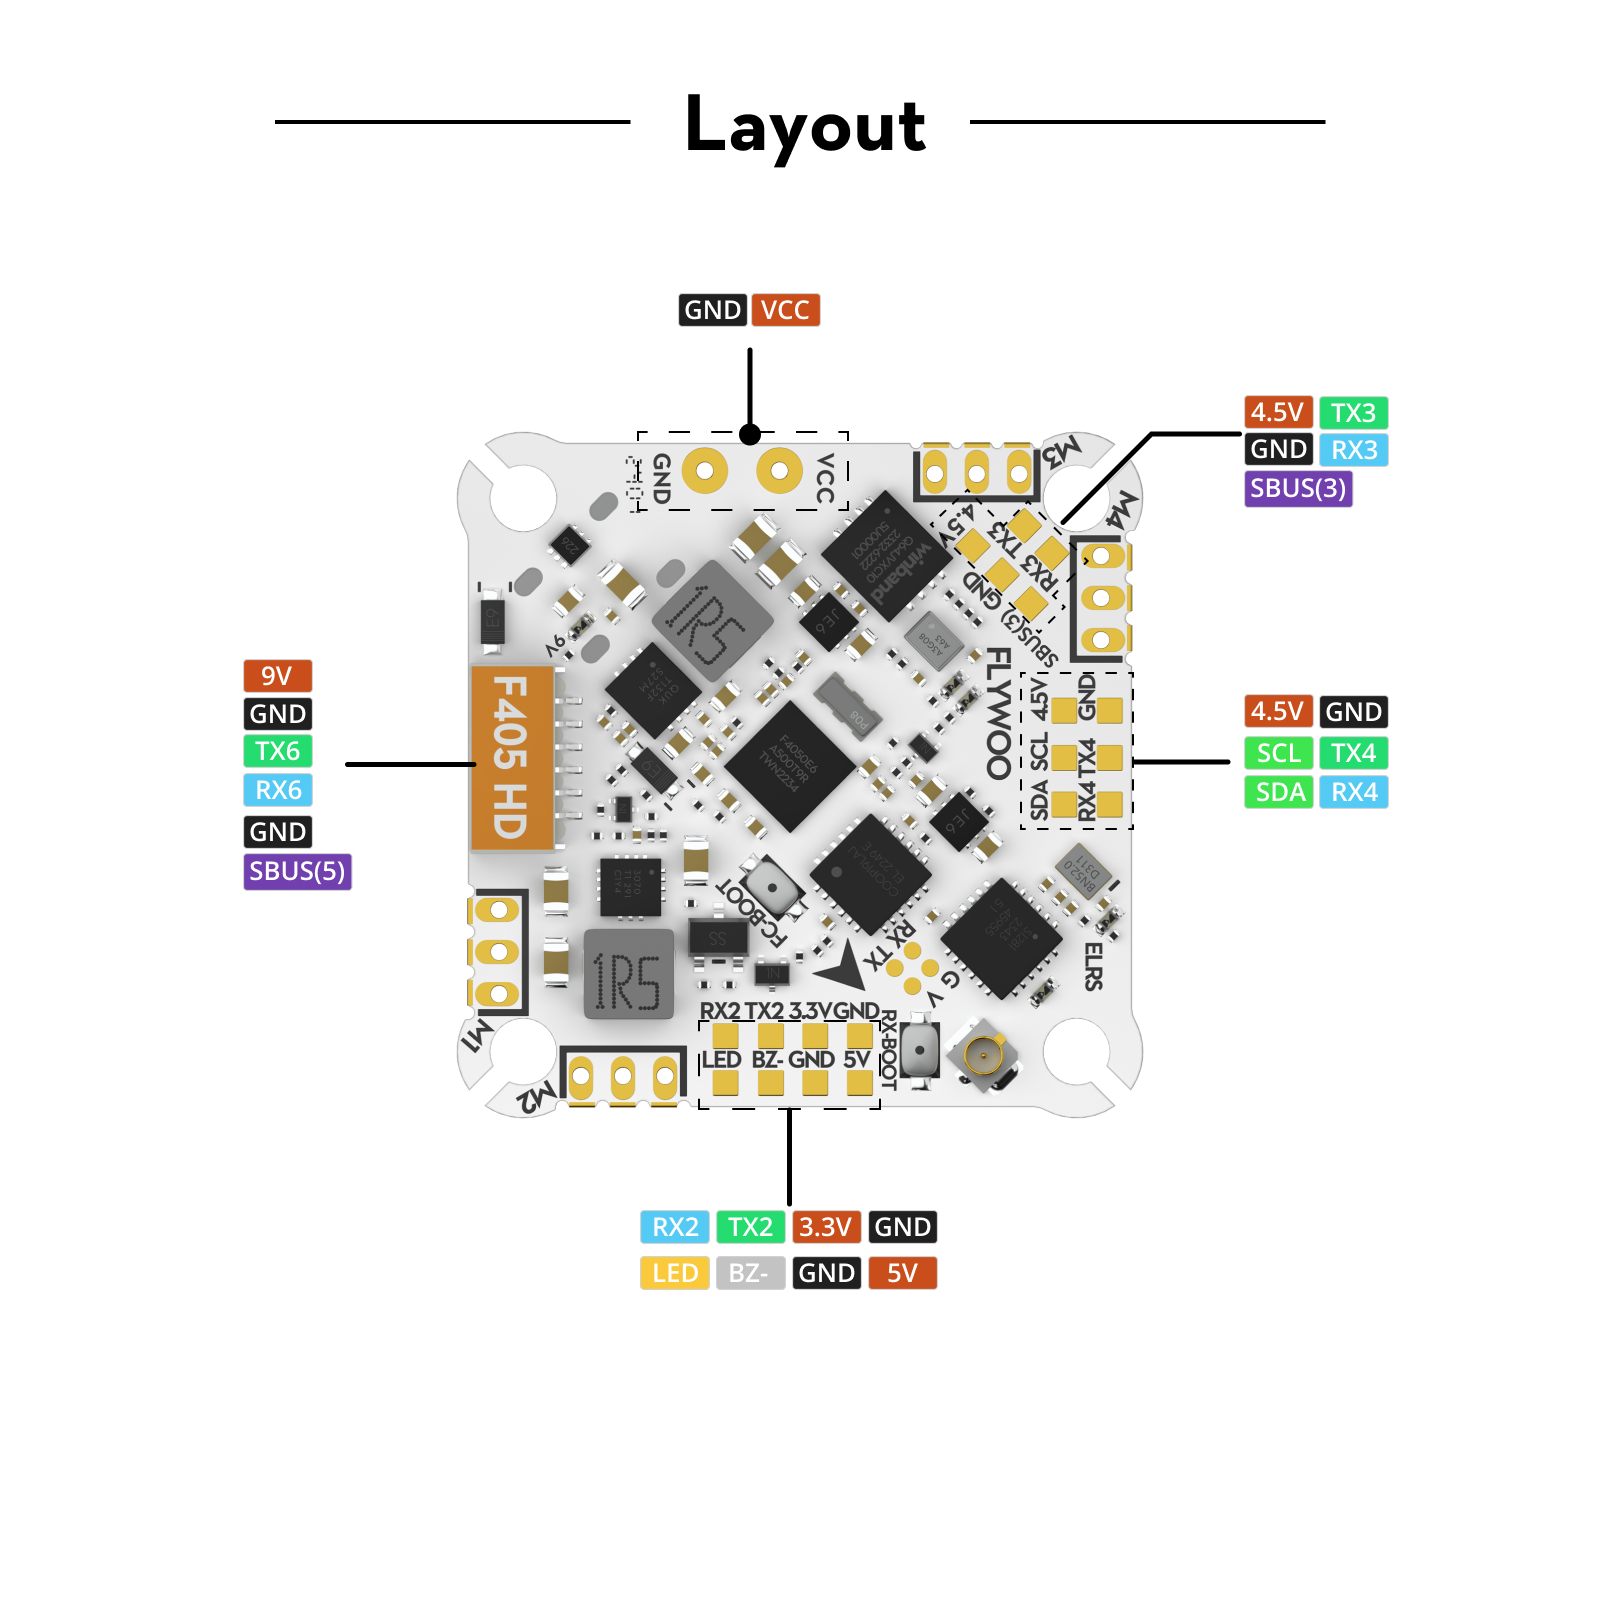
- Multifunctional Design: Integrates a serial ELRS 2.4G receiver, 8MB black box, barometer, and current sensor, reserves 2 full UARTs and 1 standard SBUS port, supporting connections with various devices like GPS, HD VTX, and external receivers.
Specifications
GOKU F405 HD 1-2S ELRS AIO V2
| Firmware | FLYWOOF405S_AIO |
|---|---|
| BEC | 5V 2A/9V 2A |
| Flash | 8M |
| LED | 2*WS2812 |
| Barometer | DPS310/SPL06 |
| Gyro | ICM42688P \ MPU6000 |
| Motor | M1-M4 OUTPUT I2C: SCL/SDA |
| UARTs | 1,2,3,4,5,6 |
| Connector | Type-C |
| OSD | NO |
| Hole | 25.5*25.5-3mm |
| Size | 30*30mm |
| Weight | 4.9g |
Onboard 4in1 ESC
| Input Voltage | 1-2S Lipo |
|---|---|
| Continuous Current | 12A |
| Firmware | BLHELI_S |
| Supported Protocols | Oneshot125, Oneshot42, Multishot, Dshot150, Dshot300, Dshot600 |
ELRS 2.4G RX (optional)
| MCU | ESP8285 |
|---|---|
| RF Module | SX1280IMLTRT |
| Frequency Range | 2400 MHz to 2500 MHz |
| Maximum Receive Refresh Rate | 500Hz |
| Minimum Receiver Refresh Rate | 25Hz |
| Serial | UART 1 |
| Firmware | Flywoo EL24P 2400 RX |
| Version | 3.X.X |
In the Box
- 1x XT30 Power Cable
- 1x Flywoo ELRS 2.4g Minimortal PCB T Antenna UFL (only ELRS Version)
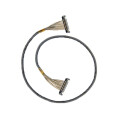
- 1x DJI O3 Connection Cable
- 1x PH 2.0 Battery Lead
- 1x Capacitor
- 4x JST Straight Socket
- 4x M2*10 screw
- 4x M2 nuts
- 4x M2 shock-absorbing ball
About Betaflight
ESC Firmware
The ESC firmware defaults to Bluejay 0.19.2 48KHz. It supports bidirectional D-shot and RPM filtering in Betaflight. However, it’s recommended not to upgrade to 96KHz, as this might cause an error in the motor idle setting, resulting in the motor not spinning when disarmed.
Important: DO NOT flash the firmware with a shorter interval; otherwise, there is a certain chance of stalling and burning the flight controller.
For configuration, visit the ESC Configurator.
Serial ELRS 2.4G RX
The Serial ELRS 2.4G RX receiver protocol uses the Crossfire serial protocol (CRSF protocol) to communicate between the receiver and the flight controller board. This means the Serial ELRS 2.4G RX can support upgrades via the ELRS Configurator without needing to flash the Betaflight flight controller firmware.
Binding Steps
- To enter binding mode, unplug and plug the power/data cable three times.
- The RX LED will flash rapidly twice, indicating the receiver is in binding mode.
- Ensure the TX module or wireless transmitter is in binding mode.
- If the receiver's light stays on constantly, it means it's bound.
Upgrade Steps
The Serial ELRS 2.4G RX can be updated via Wi-Fi or Betaflight serial passthrough. Below are the steps to update the Serial ELRS 2.4G RX firmware through passthrough:
- Insert the FC into the computer, but do not connect to the Betaflight configurator.
- Select the target "FLYWOO 2.4Ghz EL24P".
- Use the Betaflight Passthrough option in the ExpressLRS configurator for the upgrade.
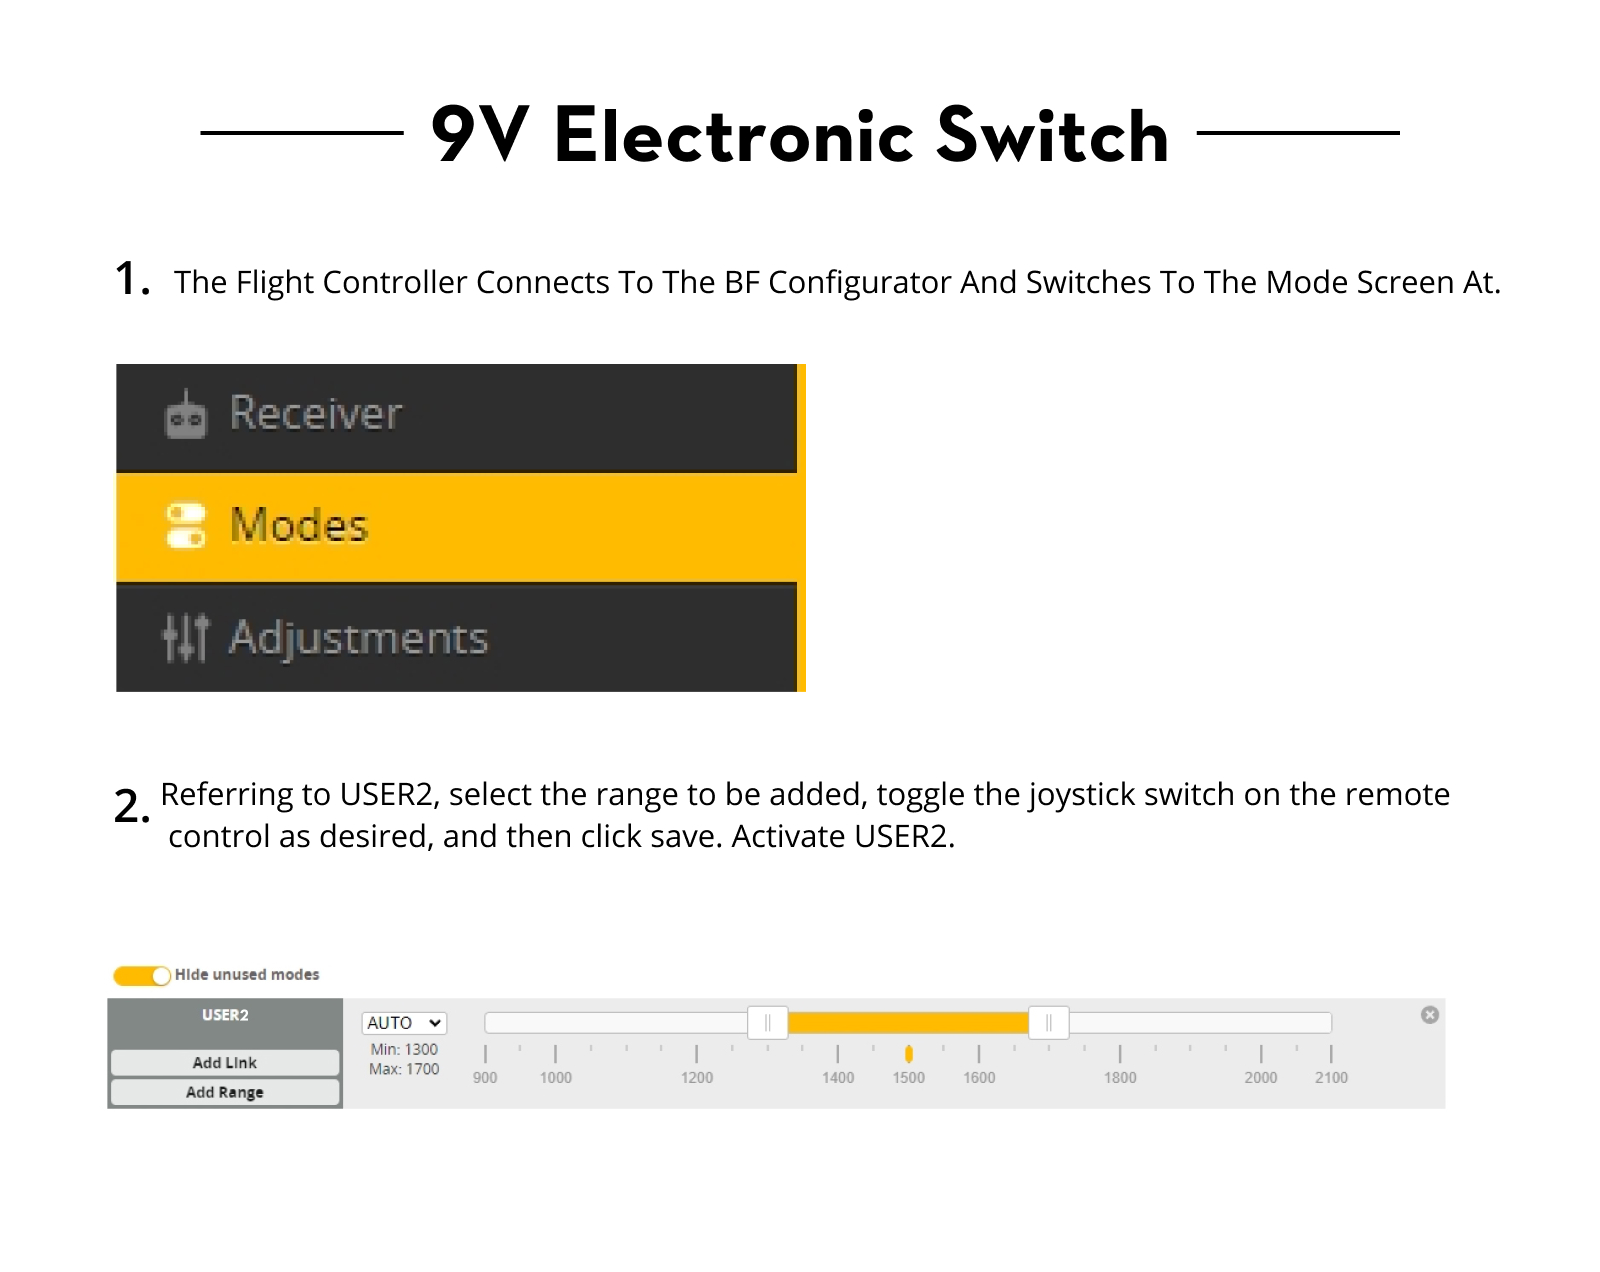
9V Electronic Switch
By controlling the switch of USER2, it is possible to control all 9V power supply to the flight controller, temporarily shutting off the image transmission to avoid damage to the equipment due to prolonged high temperatures.
Connect the flight controller to the BF configurator and switch to the Modes interface to manage this functionality.
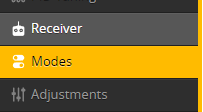
Scroll down to find USER2, select "Add Range", then move the joystick switch on the remote controller you wish to configure. Afterward, save the motor settings. Activate USER2.

- Firmware: BLHeli_S
- Size: 26x26 Whoop
- Prozessor: F4
- Gyro: ICM42688
- Protocol: ELRS


